Big Rob's Gun Leather
  • Home
  • About Us
  • Available Now
  • Belts
    • Belt Hardware
    • EDC Belts
    • General Belt Information
    • How to Measure
    • Ranger Style Belts
    • Scout Style Belts
  • Colors & Materials
    • Basket Stamps
    • Border stamps available
    • Colors
    • Custom Projects
    • Exotic Inlay/Overlay Work
    • In Construction
  • Gun Leather
    • Guns Available
    • Combination Rigs
    • Executive Series >
      • Latke
      • Monica
      • MP-1
      • Vindicator
    • Fundamental Series >
      • The Original Pancake
      • Pocket Pro
    • Outdoorsman Series >
      • The Shield
      • HCT-1
      • HCT-2
      • Canvas Belt Loops
    • Shoulder Holsters
    • Magazine & Cartridge Carriers >
      • Ammo Slides
      • Dump Pouches
      • Mag Pouches
      • Speed Loader / Moon Clip Pouch
  • Knives & Tools
    • Knife Sheaths
    • Hawk & Hatchet
  • Miscellaneous
    • Dog Gear >
      • Collars >
        • Traditional Collar
        • Quick Lead Collars
      • Braided Traffic Leads
    • Key Chains & Danglers >
      • Loop Danglers
      • Round Key Chains
      • Snap Danglers
      • The Fife
    • Rifle Leather >
      • 1907 Style Military Slings
      • Rifle Carry Straps
      • Rifle Stock Cuffs
      • How to: Lace a Cuff
      • Saddle Scabbards
    • Wallets & Organizers >
      • Bi-Fold Wallets
      • Napoleon
      • Roper Wallets
  • Pricing

How To: Lace a Cuff

I've gotten this question more than once so I wanted to document the process on my site. This is what works for me and hopefully it helps you as well.
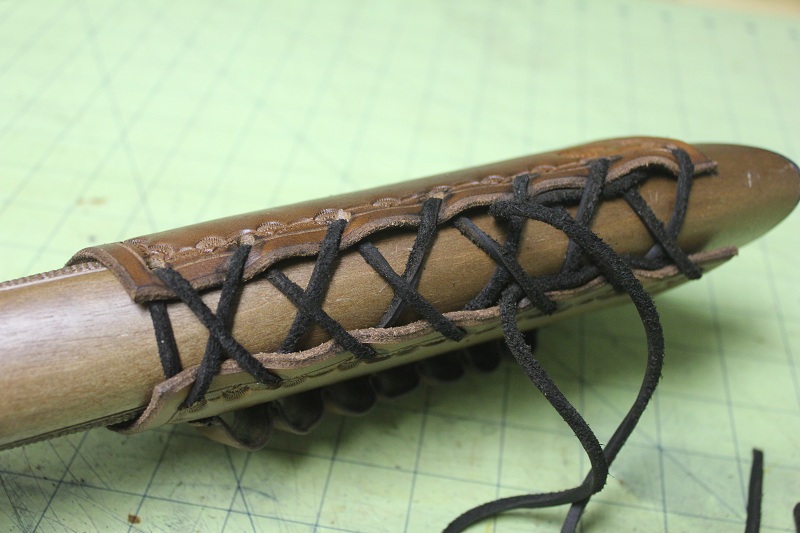
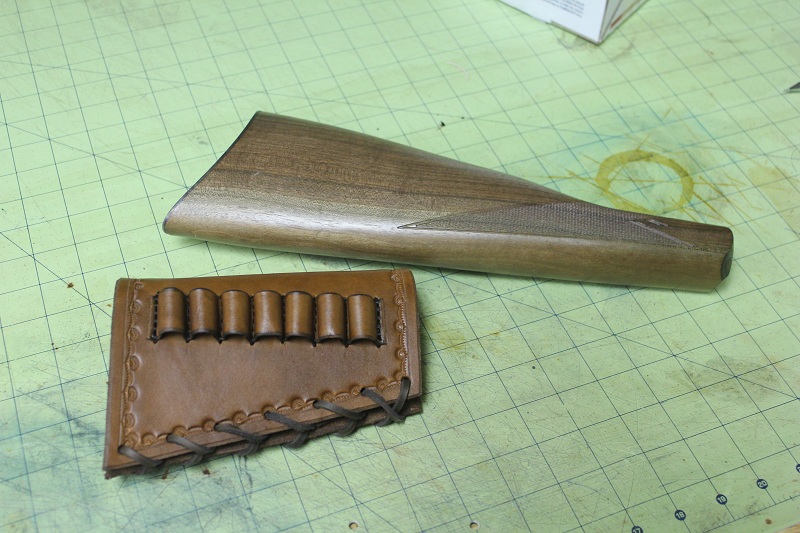
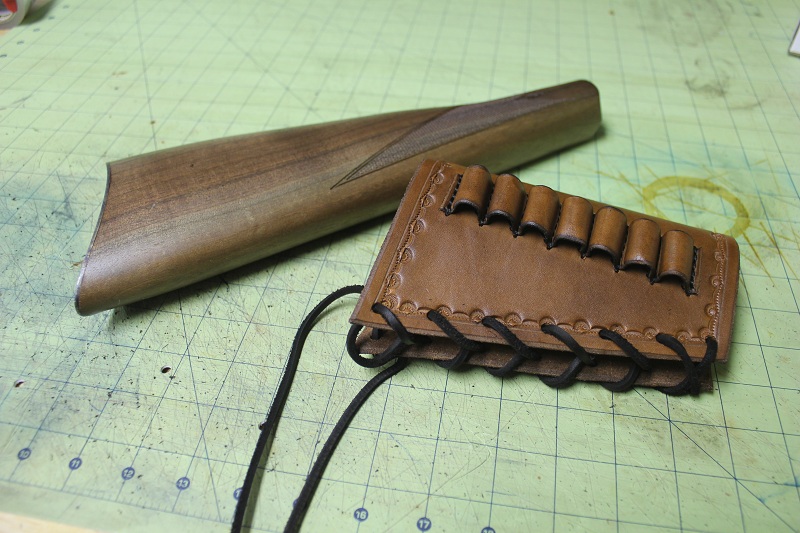
Step #1) First things first, unpack your new cuff and look at it in it's glory. All jokes aside pay attention to the way I have laced it. This is the most effective pattern I have found working front to back.
Picture
Step #2) Now that you've noted how the lace was installed, pull it off and wet it. The wet lace will pull tighter than it dry, and it with shrink slightly as it drys to 'lock' on the cuff.
Picture
Step #3) Re lace the cuff, loosely, with the wet lace. I aim to get about the same amount of extra on either side.
Picture
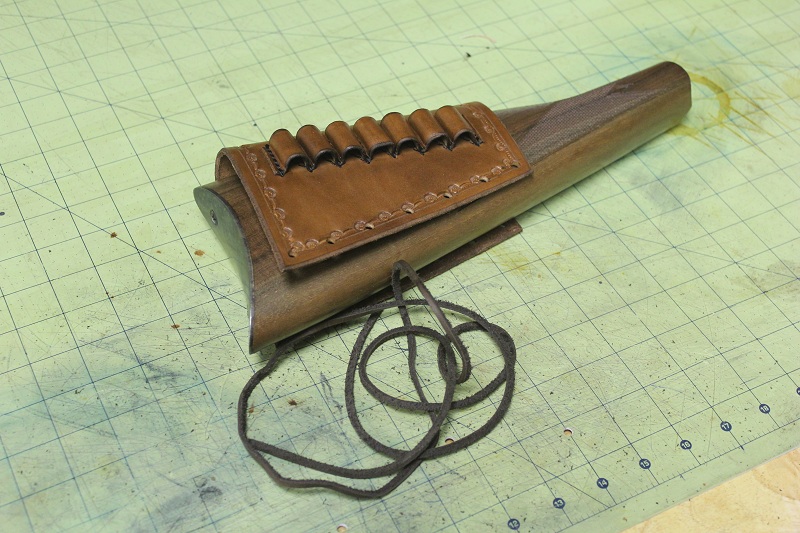
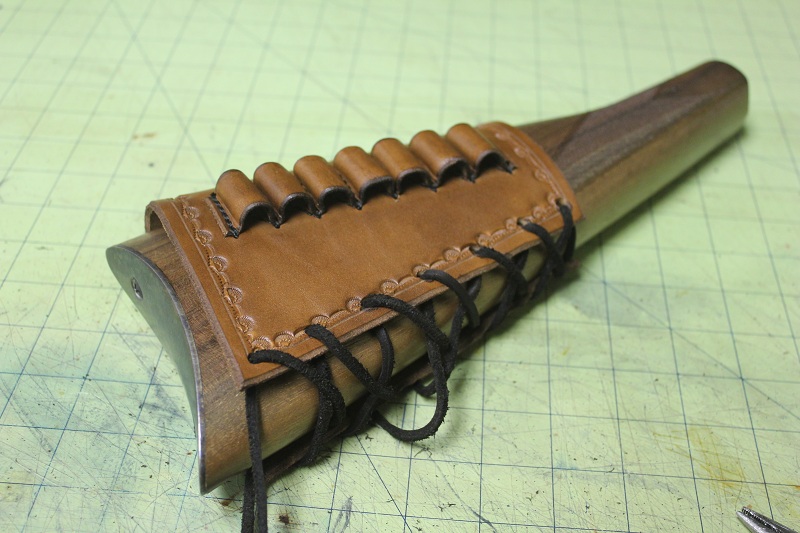
Step #4) Slide it onto the stock and locate where you would like it to sit. Snug up laces by hand starting at the front.
Picture
Step #5) Continue to tighten by hand, leaving the rear 3 laces with slight excess.
Picture
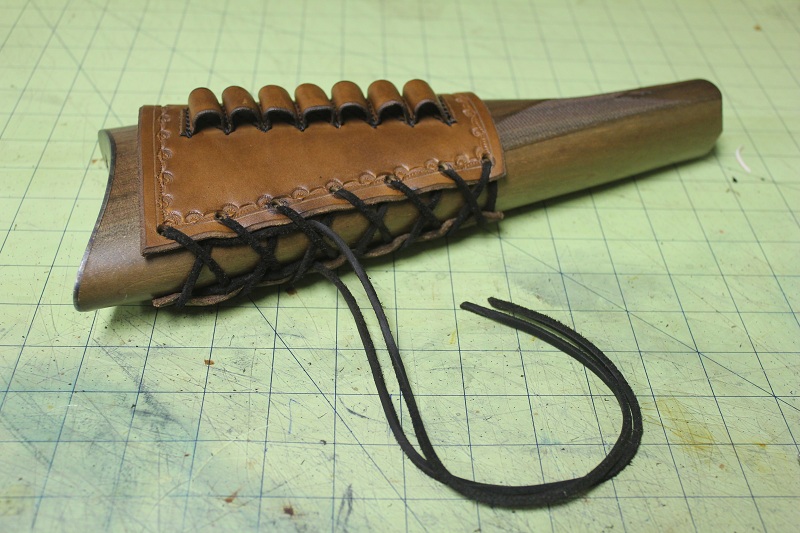
Step #6) Pull the lace ends back under the last 2-3 loops. After tightening and drying these will 'lock' into place and you can trim the extra to your desired length.
Picture
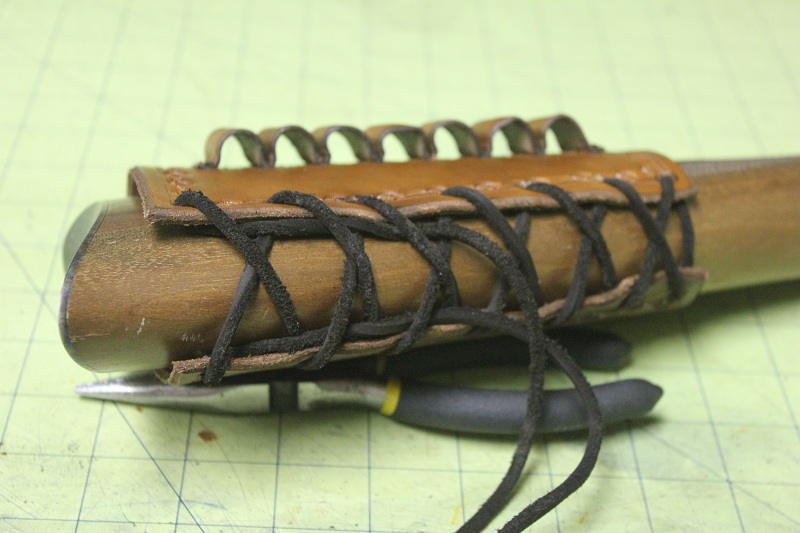
Step # 7) Take a pair of pliers, my preferred is needle nosed, and really get the laces tight.
Picture
Step # 8) Enjoy your new cuff! That wasn't so bad was it?
Picture
Picture
Powered by Create your own unique website with customizable templates.